The Complete Guide To ScrapydWeb, Get Setup In 3 Minutes!
ScrapydWeb is the most popular open source Scrapyd admin dashboards. Boasting 2,400 Github stars, ScrapydWeb has been fully embraced by the Scrapy community.
In this guide, we're going to run through:
There are many different Scrapyd dashboard and admin tools available, from ScrapeOps (Live Demo) to SpiderKeeper, and Gerapy.
So if you'd like to choose the best one for your requirements then be sure to check out our Guide to the Best Scrapyd Dashboards, so you can see the pros and cons of each before you decide on which option to go with.
What Is ScrapydWeb?
ScrapydWeb is a admin dashboard that is designed to make interacting with Scrapyd daemons much easier. It allows you to schedule, run and view your scraping jobs across multiple servers in one easy to use dashboard.
Thereby addressing the main problem with the default Scrapyd setup. The fact that the user interface has very limited functionality and is pretty ugly.
Although, there are many other Scrapyd dashboards out there, ScrapydWeb quickly became the most popular option after its launch in 2018 because of its easy of use and extra functionality it offered compared to the other alternatives at the time.
Features
- 💠 Scrapyd Cluster Management
- 💯 All Scrapyd JSON API Supported
- ☑️ Group, filter and select any number of nodes
- 🖱️ Execute command on multinodes with just a few clicks
- 🔍 Scrapy Log Analysis
- 📊 Stats collection
- 📈 Progress visualization
- 📑 Logs categorization
- 🔋 Enhancements
- 📦 Auto packaging
- 🕵️♂️ Integrated with 🔗 LogParser
- ⏰ Timer tasks
- 📧 Monitor & Alert
- 📱 Mobile UI
- 🔐 Basic auth for web UI
How To Setup ScrapydWeb?
Getting setup with ScrapydWeb is pretty simple. You just need to install the ScrapydWeb package and connect it to your Scrapyd server.
Setup Scrapyd Server
To run through the installation process, we're first going to need to have a Scrapyd server setup with a project running on it. (You can skip this step if you already have a Scrapyd server setup.)
If you would like a in-depth walkthrough on what is Scrapyd and how to set it up, then check out our Scrapyd guide here.
Install Scrapyd
First step is to install Scrapyd:
pip install scrapyd
And then start the server by using the command:
scrapyd
This will start Scrapyd running on http://localhost:6800/. You can open this url in your browser and you should see the following screen:

Deploy Scrapy Project to Scrapyd
To run jobs using Scrapyd, we first need to eggify and deploy our Scrapy project to the Scrapyd server. Luckily, there is a easy to library called scrapyd-client to do this.
pip install git+https://github.com/scrapy/scrapyd-client.git
Once installed, navigate to your Scrapy project and open your scrapyd.cfg file and uncomment the url line under [deploy].
## scrapy.cfg

[settings]
default = demo.settings  ## demo will be the name of your scrapy project

[deploy]
url = http://localhost:6800/
project = demo  ## demo will be the name of your scrapy project
This [deploy] section configures what url the Scrapyd endpoint the project should be deployed too, and the project field tells which project that should be deployed.
With the scrapyd.cfg file configured we are now able to deploy the project to the Scrapyd server. To do this we navigate to the Scrapy project you want to deploy in your command line and then enter the command:
scrapyd-deploy default
When you run this command, you should get a response like this:
$ scrapyd-deploy default
Packing version 1640086638
Deploying to project "scrapy_demo" in http://localhost:6800/addversion.json
Server response (200):
{"node_name": "DESKTOP-67BR2", "status": "ok", "project": "scrapy_demo", "version": "1640086638", "spiders": 1}
Note: Make sure you have your Scrapyd server running, the start Scrapyd command above, otherwise you will get an error.
Now that we have a Scrapyd server setup and a Scrapy project deployed to the Scrapyd server we can control this with ScrapydWeb.
Installing ScrapydWeb
Getting ScrapydWeb installed and setup is super easy. (This is a big reason why it has become so popular).
To get started we need to install the latest version of ScrapydWeb:
pip install --upgrade git+https://github.com/my8100/scrapydweb.git
Next to run Scrapydweb we just need to use the command:
scrapydweb
This will build a ScrapydWeb instance for you, create the necessary settings files and launch a ScrapydWeb server on http://127.0.0.1:5000.
Sometimes the first time you run scrapydweb it will just create the ScrapydWeb files but won't start the server. If this happens just run the scrapydweb command again and it will start the server.
Now, when you open http://127.0.0.1:5000 in your browser you should see a screen like this.

Install Logparser
With the current setup you can use ScrapydWeb to schedule and run your scraping jobs, but you won't see any stats for your jobs in your dashboard.
Not to worry however, the developers behind ScrapydWeb have created a library called Logparser to do just that.
If you run Logparser in the same directory as your Scrapyd server, it will automatically parse your Scrapy logs and make them available to your ScrapydWeb dashboard.
To install Logparser, enter the command:
pip install logparser
Then in the same directory as your Scrapyd server, run:
logparser
This will start a daemon that will automatically parse your Scrapy logs for ScrapydWeb to consume.
Note: If you are running Scrapyd and ScrapydWeb on the same machine then it is recommended to set the LOCAL_SCRAPYD_LOGS_DIR path to your log files directory and ENABLE_LOGPARSER to True in your ScrapydWeb's settings file.
At this point, you will have a running Scrapyd server, a running logparser instance, and a running ScrapydWeb server. From here, we are ready to use ScrapydWeb to schedule, run and monitor our jobs.
Using ScrapydWeb
Now let's look at how we can actually use ScrapydWeb to run and monitor our jobs.
Connecting Scrapyd Servers
Adding Scrapyd servers to ScrapydWeb dashboard is pretty simple. You just need to edit your ScrapydWeb settings file.
By default ScrapydWeb is setup to connect to locally running Scrapyd server on localhost:6800.
SCRAPYD_SERVERS = [
    '127.0.0.1:6800',
    # 'username:password@localhost:6801#group', ## string format
    #('username', 'password', 'localhost', '6801', 'group'), ## tuple format
]
If you want to connect to remote Scrapyd servers, then just add them to the above array, and restart the server. You can add servers in both a string or tuple format.
Note: you need to make sure bind_address = 0.0.0.0 in your settings file, add restart Scrapyd to make it visible externally.
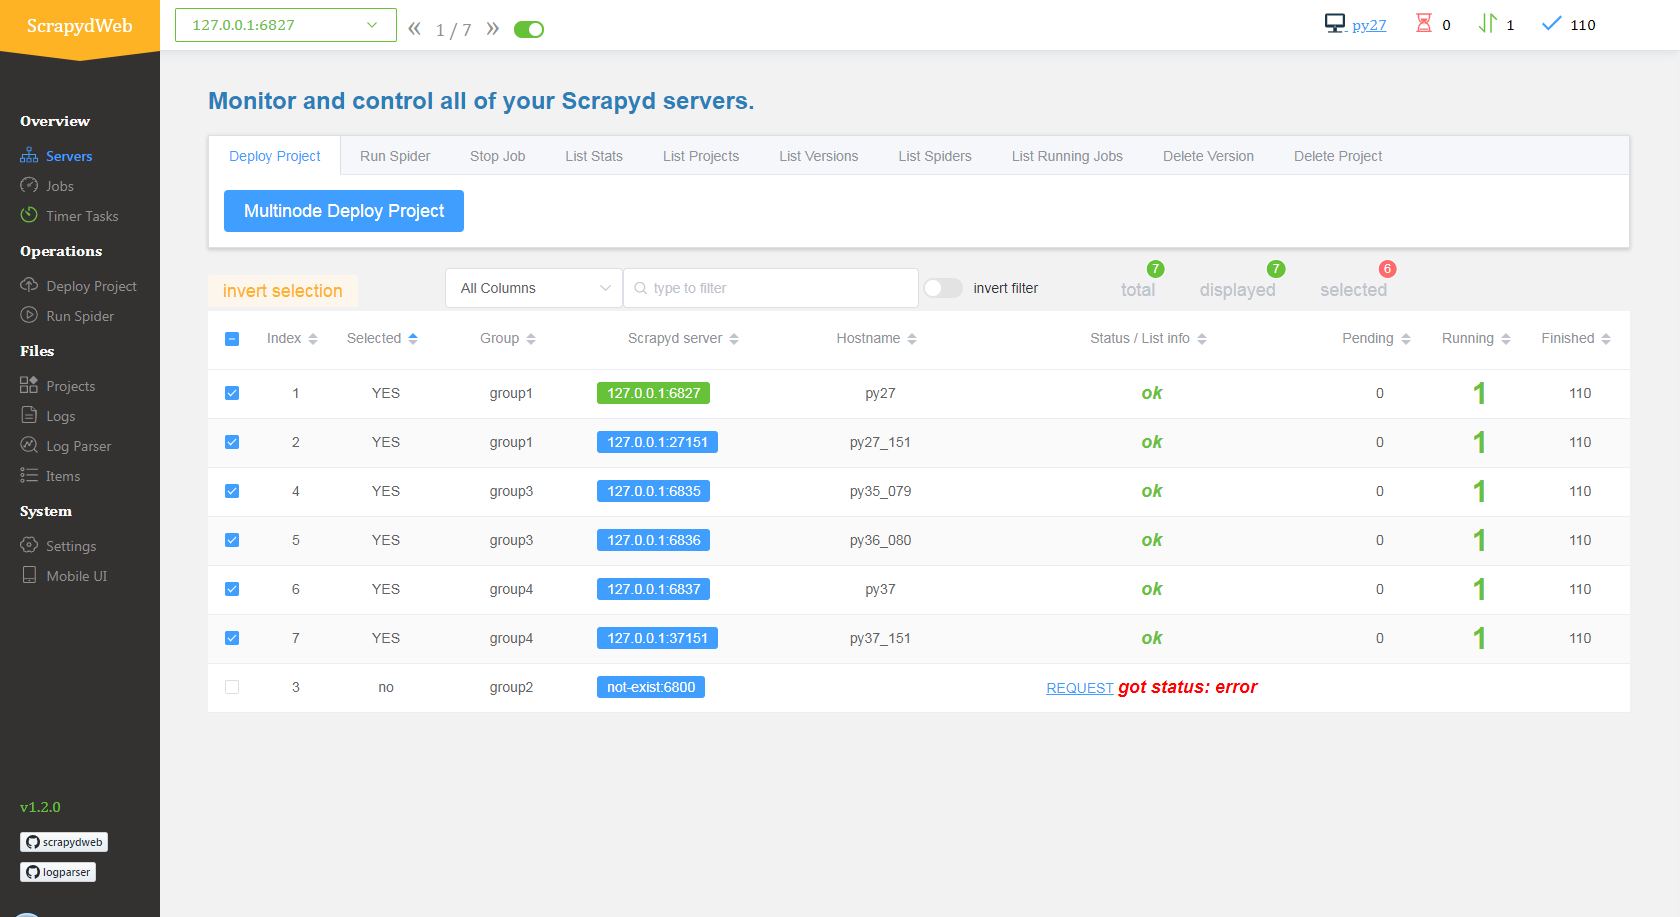
With this done, you should see something like this on your servers page: http://127.0.0.1:5000/1/servers/.

Running Spiders
Now, with your server connected we are able to schedule and run spiders from the projects that have been deployed to our Scrapyd server.
Navigate to the Run Spider page (http://127.0.0.1:5000/1/schedule/), and you will be able to select and run spiders.
This will then send a POST request to the /schedule.json endpoint of your Scrapyd server, triggering Scrapyd to run your spider.
You can also schedule jobs to run periodically by enabling the timer task toggle and entering your cron details.
Job Stats
When Logparser is running, ScrapydWeb will periodicially poll the Scrapyd logs endpoint and display your job stats so you can see how they have performed.

Alternatives To ScrapydWeb
There are many alternatives to ScrapydWeb, which offer different functionality and flexibility than ScrapydWeb. We've summarised them in this article here: Guide to the 5 Best Scrapyd Dashboards
If you are still open to other options then we would highly recommend that you give ScrapeOps a try. ScrapeOps does everything ScrapydWeb does and more.
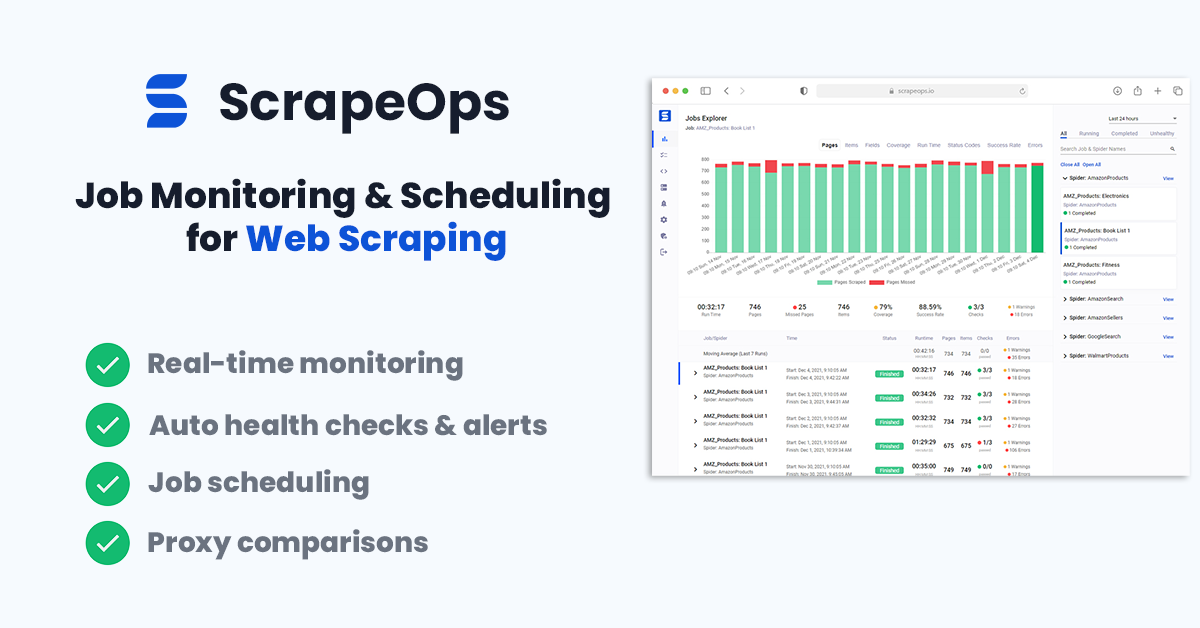
Live demo here: ScrapeOps Demo
Not only can you schedule, run and manage spiders on Scrapyd servers like you can with ScrapydWeb, ScrapeOps is a fully fledged job monitoring solution for web scraping.
It allows you to monitor jobs, view the results in numerous dashboards, automatic job health checks, alerts and more.
What's more, the monitoring and scheduling part of ScrapeOps is seperate. So if you would like to use ScrapydWeb for job scheduling, you can still integrate the ScrapeOps Scrapy extension that will log your scraping data and populate your monitoring dashboards.